

Hello Dear Friends,
I have been busier “than a cranberry merchant” as my Dear Mom would say. (OK Sis…stop laughing!! 😉 )
I have been in Christmas crafting mode!! 100 cards to make in a matter of days. And I have redone my card design at least 6 times!! I even began one design that I began assembling that I will shelf to use another year. 🙂 I have loved every part of this process!! I have loved finding the stamps, dies, papers, embellishments, etc!! I have learned sooo much in this process!! (As I do with each project!! 😉 )
I will share some great lessons learned below. I hope these encourage you as well. 🙂 And then I have listed the pictures of the process. Enjoy!! 🙂
1st lesson: Always have back up stamps, dies, papers etc. (Just in case you are a changer minder like me!! 😉 )
2nd lesson: Always, always, always have ink refills for the ink you use in your design. I did ok as it was an unused pad but…I really did cut it close!! 😉
3rd lesson: Make sure your ink pad is a current color and not discontinued!! OK, you are probably laughing!! But I realized as I pulled 5 different test colors…the one I settled on was a Stampin’ Up discontinued color I had just not used yet. And, I did not have a refill ink!! Seriously I discovered this at 5 am and began to, well….get a little nervous!! 😉 All was just fine…PTL!!!
4th lesson: Make sure if you bulk order your paper in the Summer clearance to order double what you think you will need. I literally ordered bulk packages of several different designs of paper and didn’t decide which design until I began this last week. Then when I started cutting all the paper, I realized I needed double the amount of paper. So I then began a 50/50 set of cards. One half is one design of background paper and the other half another. I love them both!! Each one has their own attractive results which have me super excited!! I will show the making of the designs below with primarily the striped. But I will also include a finished pic of the other background paper as well.
5th lesson: Work on your design when quiet and you will not be interrupted. My time came at 5:00 am each morning for 3 days in a row. My Sweet Husband was not feeling well and home sick for a couple of days. So while he slept in, I awoke early and worked away for 5 hour stretches at a time!! It was so wonderful to focus on my design and well….play at it too!! 😉 I loved mixing and matching and cutting and die cutting to my little heart’s content!! So much fun!!I I was literally red and green ink stained for several days!!
6th lesson: Be sure you have extra and I do mean extra adhesive!! You really go through supplies as you make bulk card sets. I have already burned through 3 miscellaneous small from stash tape runners, 1 ATG refill and one other larger adhesive tape gun…sorry not sure of the make. I did buy it from CKC at the convention. I still can see it will take at least another refill of either large tape guns and most likely the last few smaller tape runners will be used up. Again…always have back up!! And the same goes for pop dots as well!! 😉
7th lesson: Always be sure to use on every scroll type die cut….wax paper!! It saves so much time!! I buy mine at the Dollar Tree!! That dollar spent goes a long long way!! 🙂
8th lesson: Be sure you have enough card and envelope based materials as well. I decided to go with premade card base and envelope sets from Hobby Lobby. Of course always bought on sale or with my 40% off coupon. 🙂 I bought the large card and envelope base and the small card and envelope base to see what would work best. I thought I had enough and once I began making cards and addressing the envelopes, I realized I needed twice what I had anticipated. (Just didn’t want to miss anyone!! 😉 ) As well as the small did not fit at all!! Great lessons learned!! 🙂
9th lesson: Enjoy all the wonderful creative process!! And also enjoy the fun of making something special for each person you send these lovely handmade with love encouragements!! So in other words…be blessed and bless others with all your gifts and talents!! FUN!!!!
Have a wonderful time of preparing for the wonderful season of Christ’s birth,
k
“Glory to God in the highest, and on earth peace among men with whom He is pleased.” Luke 2:14

I gathered all my supplies and had to cut my 12×12 paper to fit through my Big Shot for all my die cuts. The same with the wax paper I used to line the dies for easy removal once cut.


Measure twice but once. 🙂 Also keep notes on all steps of your design. Especially if you cannot complete it in one sitting.

As I prepared each step…I would organize each step in a basket beside my drafting table. I cannot tell you how wonder this quick and easy step worked!! It saved so much time!! And it kept each prepared item neatly in place until needed!!

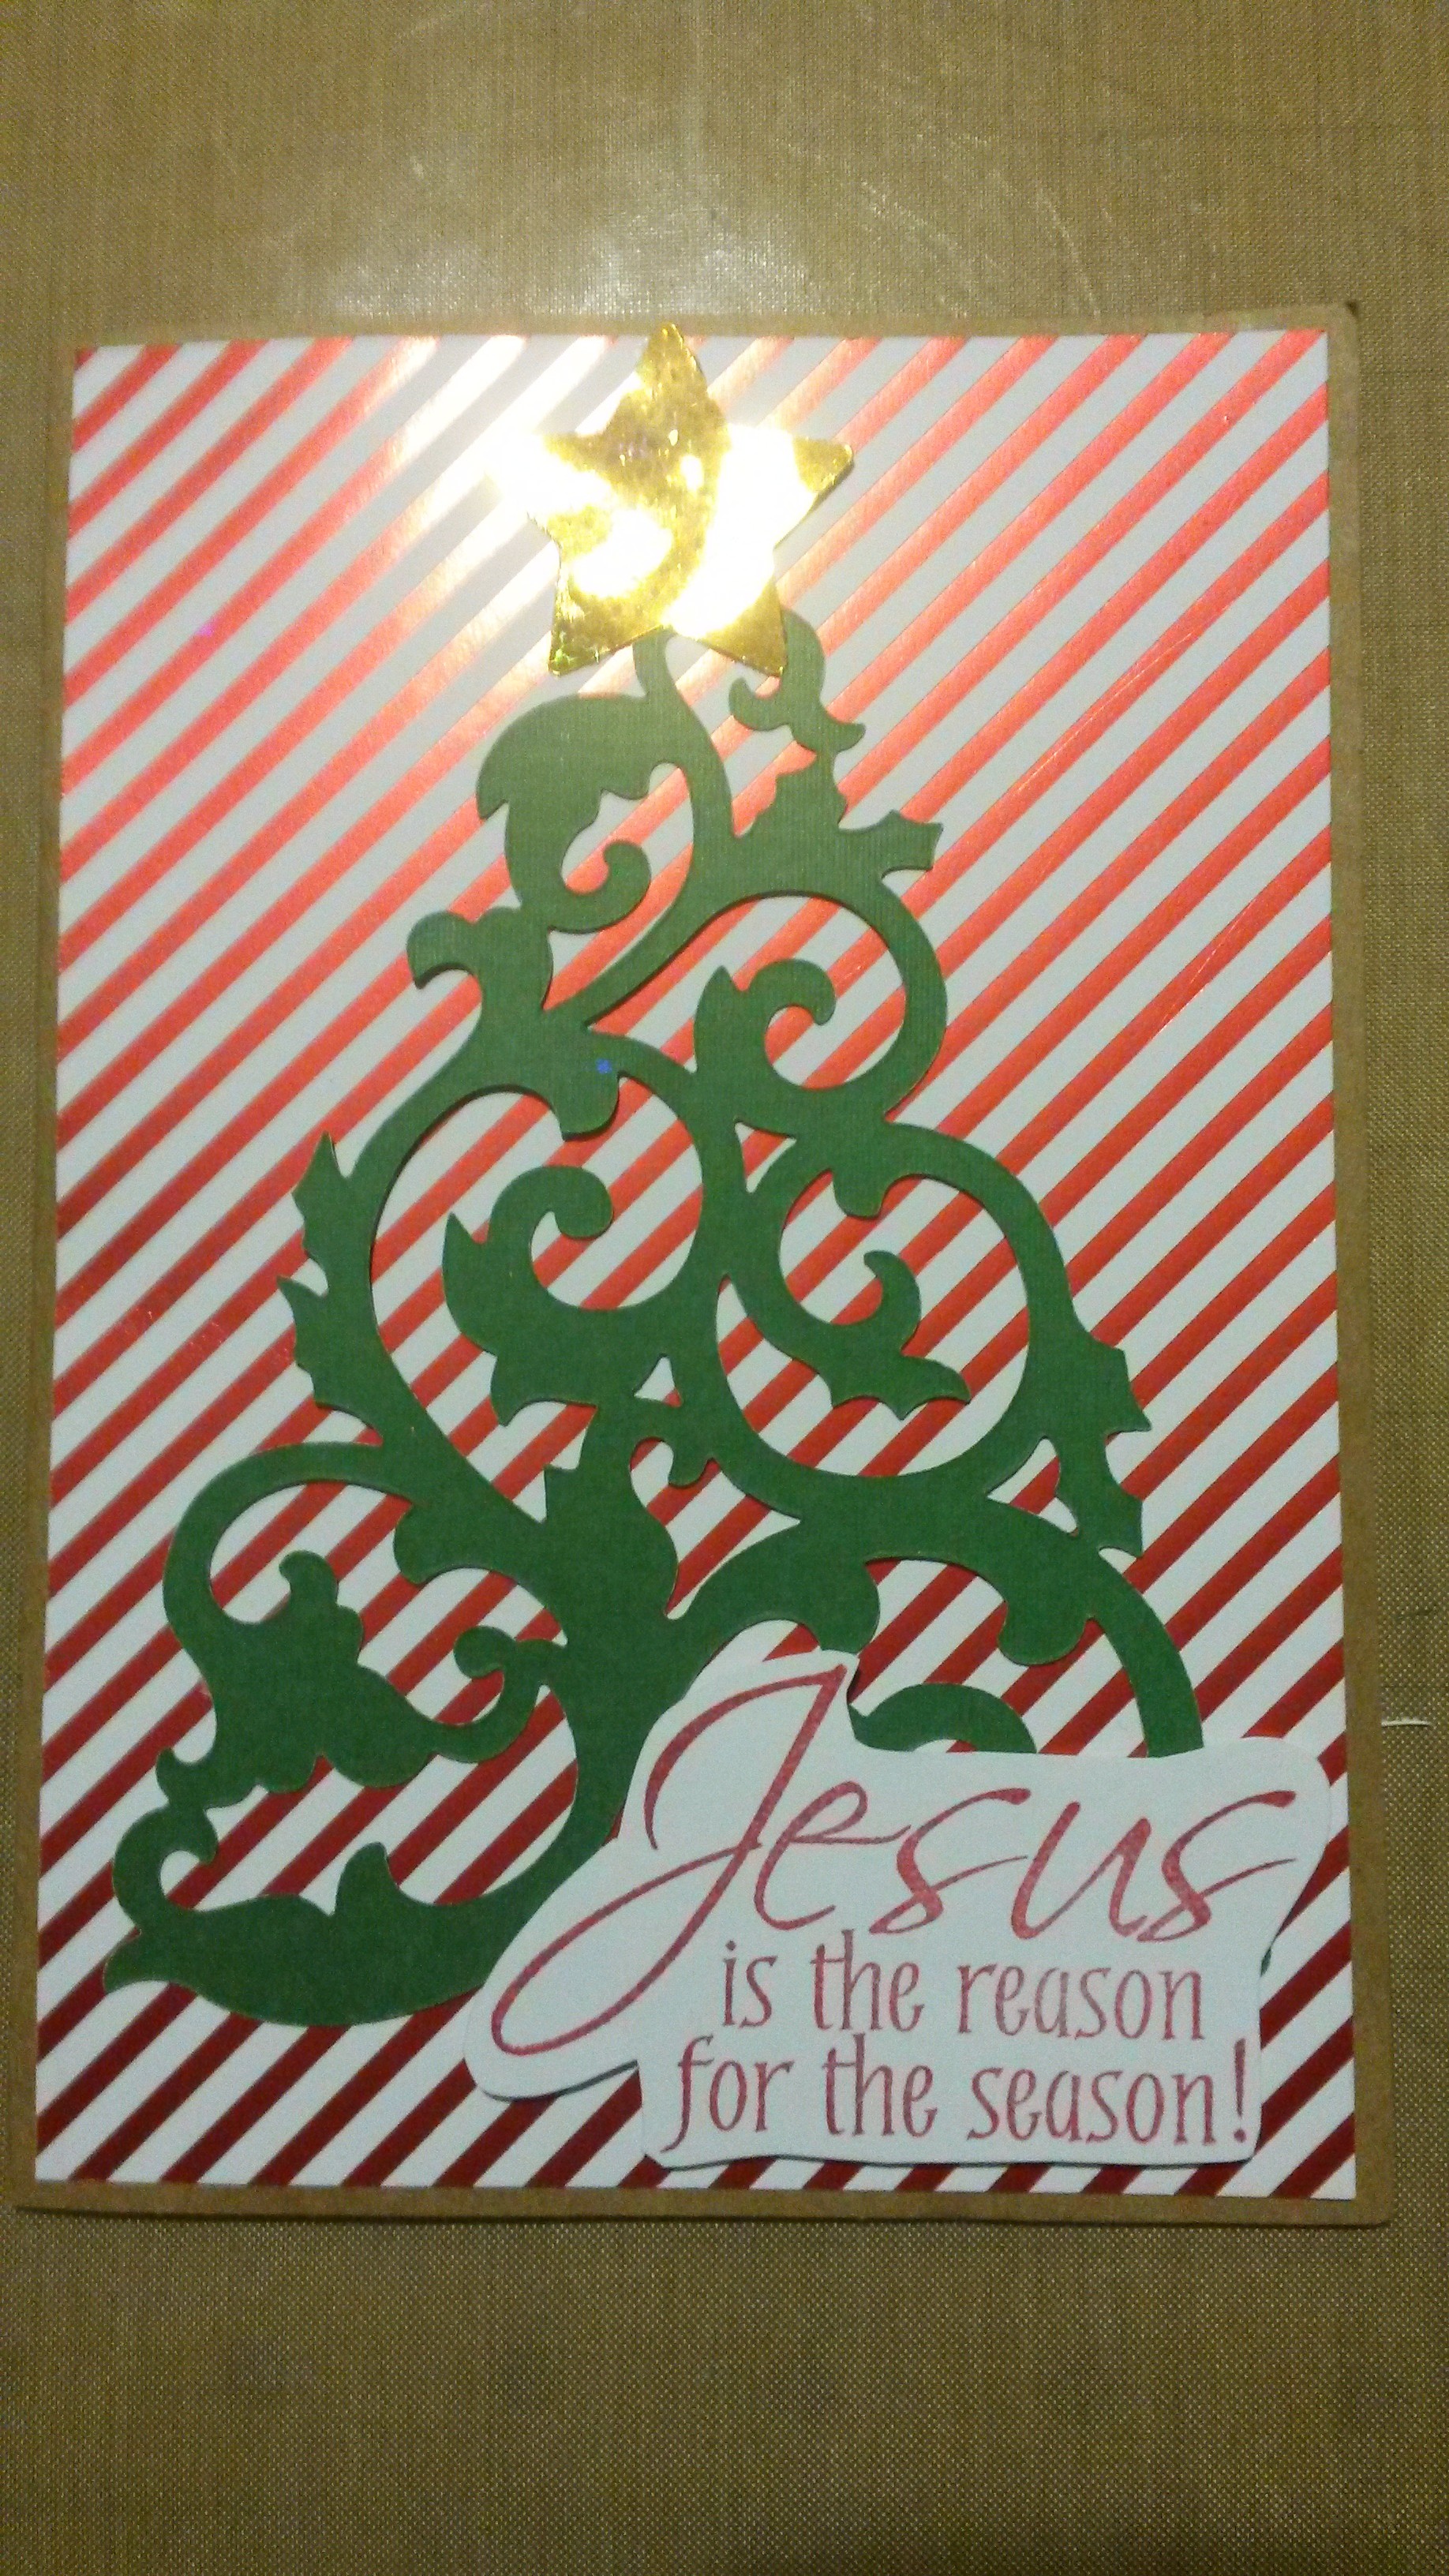
First card set made with metallic red and white candy striped designer paper. So traditionally beautiful!! I so love this and how light and bright this one is!! FUN!!
Front cover: 1st – 1 large background designer paper cut and glued to fit card stock front cover. 2nd – 1 green Sizzix die cut tree centered and glued on background paper. 3rd – stamped sentiment cut and glued to lower right corner of tree with Pop Dots. 4th – cut gold glitter designed paper with star The Paper Studio punch on top of Christmas tree.


Inside card: 1st – glue smaller designer paper. 2nd – stamp, cut and glue with Pop Dots the sentiment or scripture verse in this case. 3rd – cut white card stock circles with The Paper Studio punch for the ornament. Stick with Merry Christmas sentiment from Hobby Lobby. Then die cut ornament top with die cut from The Stamps of Life Ornament set in green designer paper. Adhere all the finished ornament with adhesive.
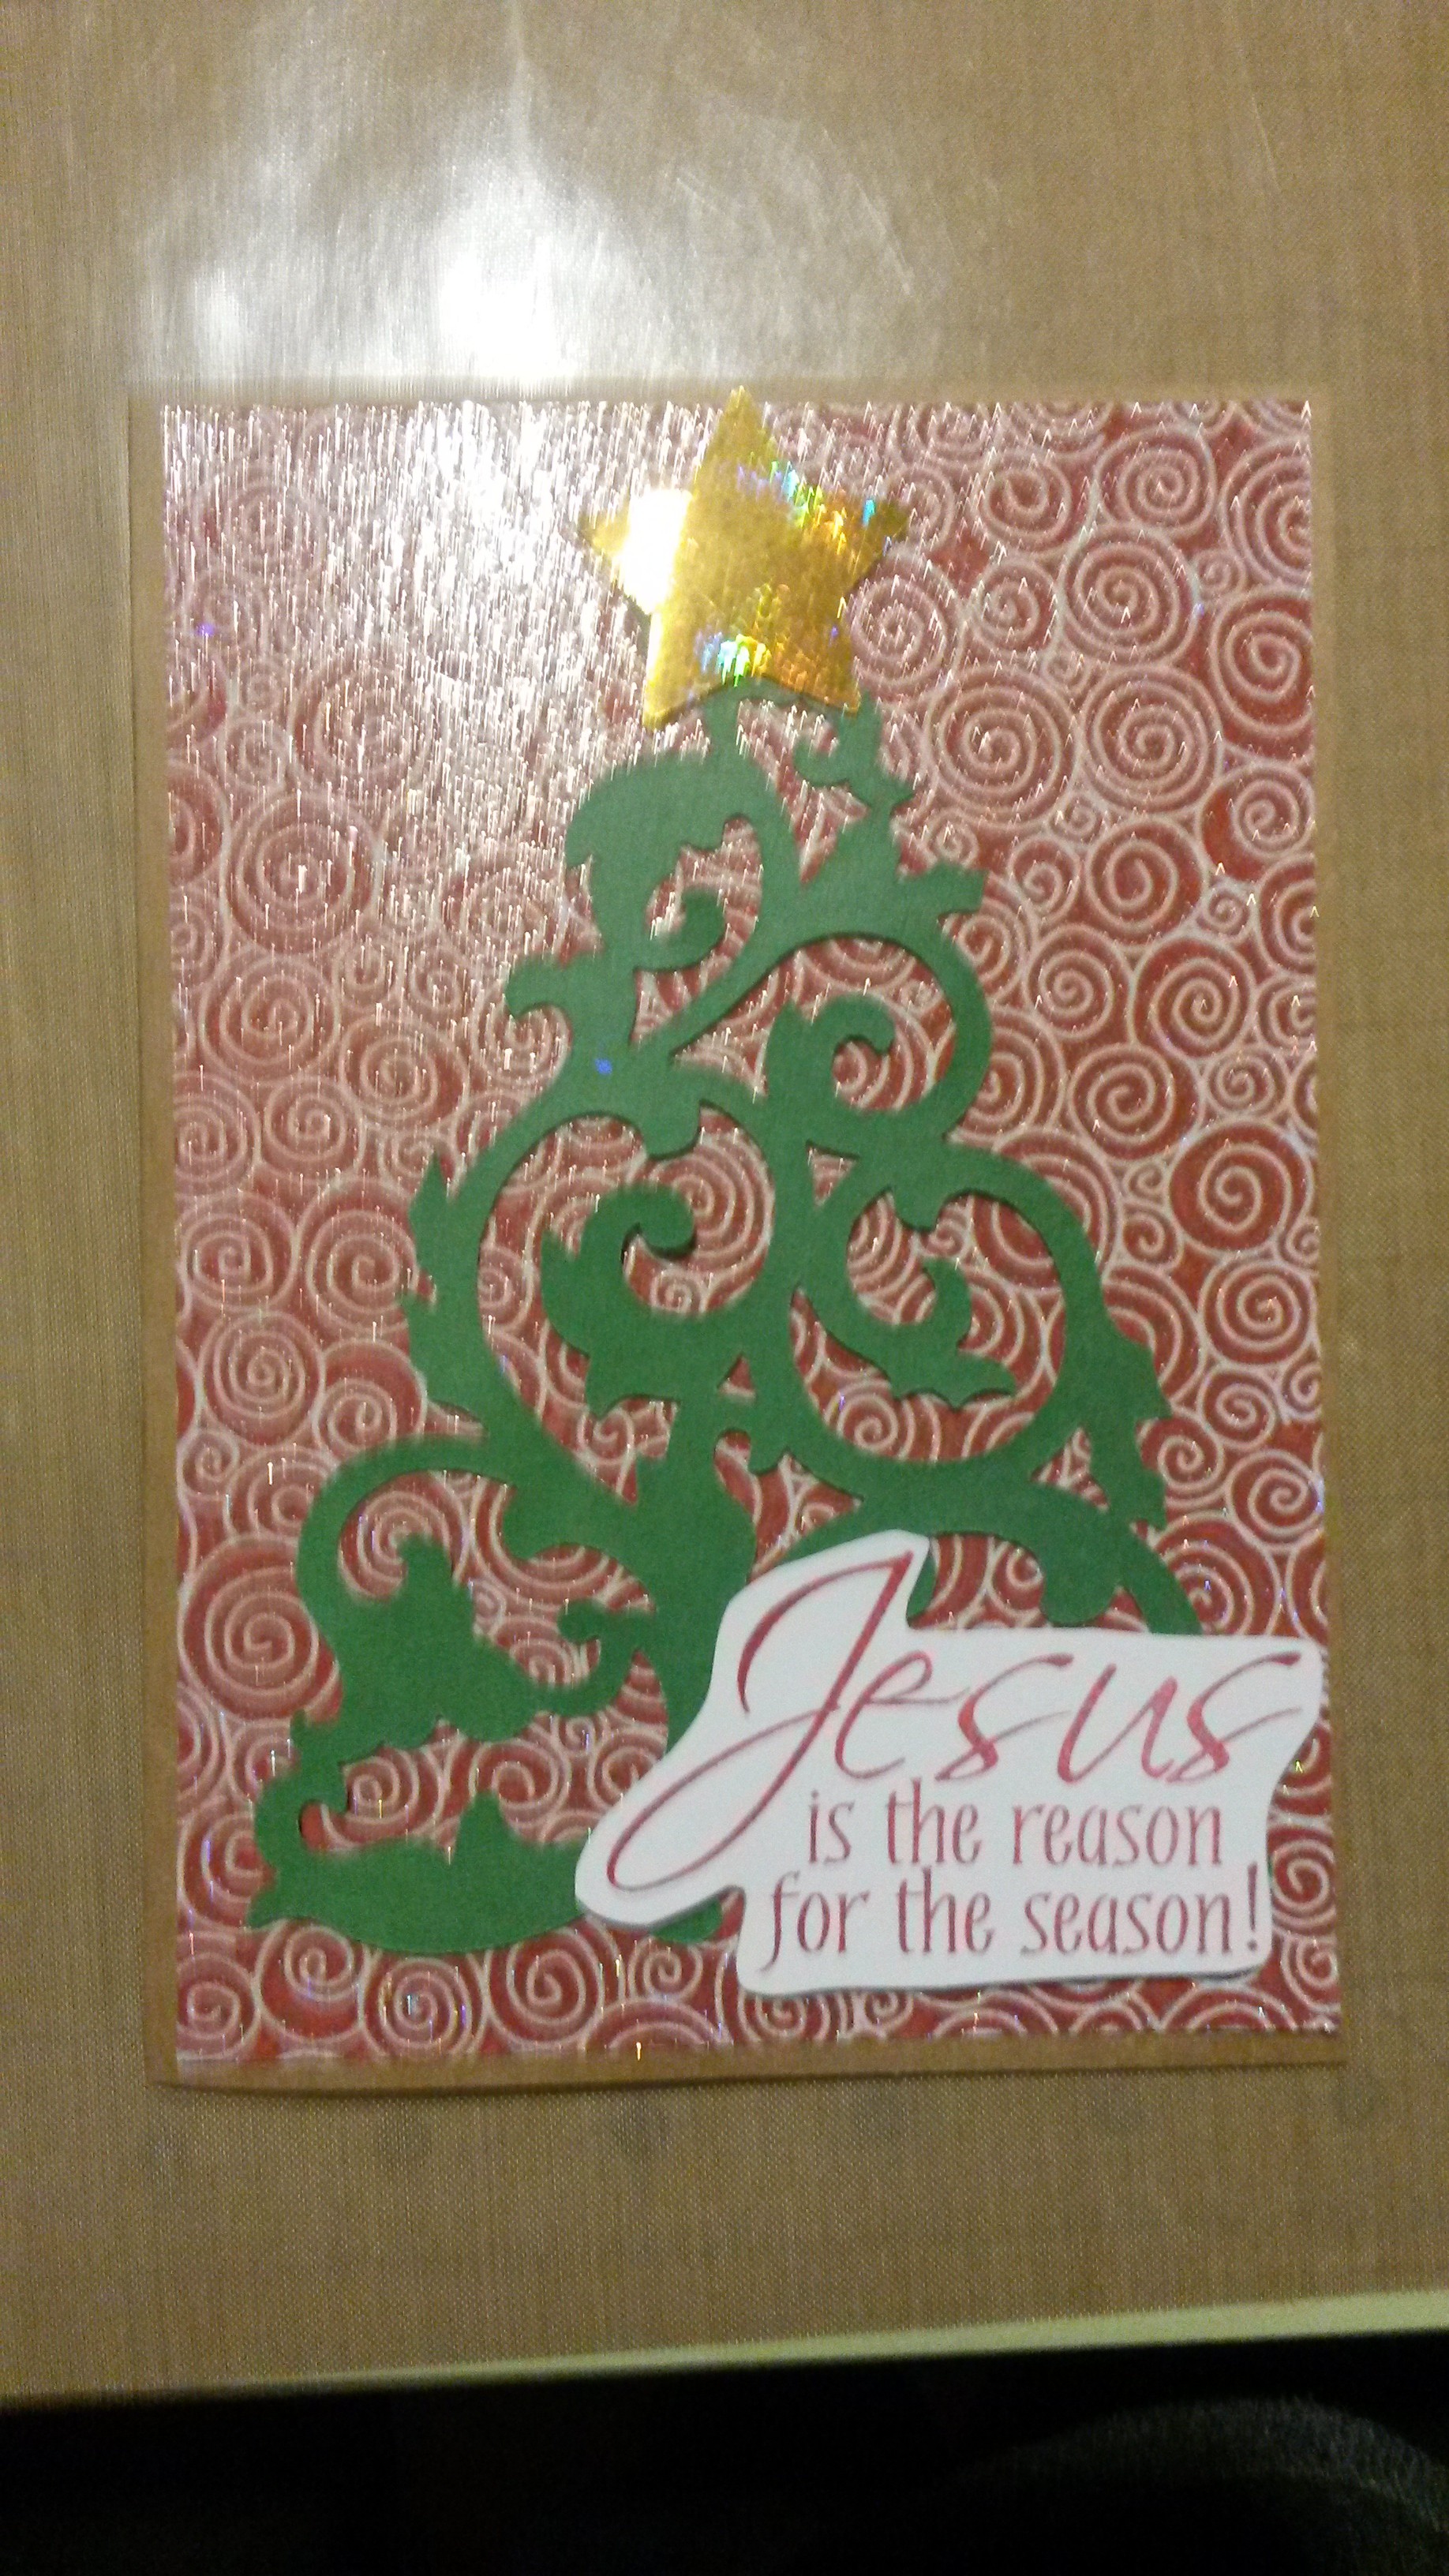


Second card with different design paper background. I really love this one as the background paper is embossed with glittery swirls. Ohhhhh so hard to choose which one I like best!! 🙂 FUN!!
Finally, sign the ornament with your name and address the envelopes, place cards in envelopes, stamp and mail!!
Merry Christmas!!
Again…fun, fun, fun to make and give!!
